Happymodel ELRS X1 AIO 2-4S F4 Flight Controller

 Add to
Wishlist
Add to
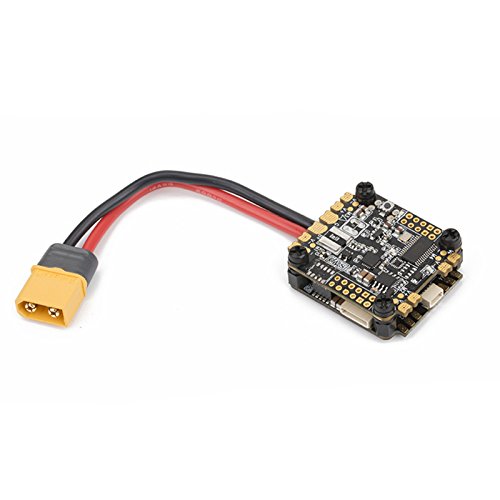
WishlistThe integrated 2.4GHz ExpressLRS receiver is equipped with the SX1280 radio frequency chip with high sensitivity, high packet rate and low latency, this flight controller which dispite the small size of this flight controller is able to work at long distances. The flight controller also has reserved 6pin SH1.0 plug for CaddxFPV Vista HD VTX and a 5pin SH1.0 plug for analog VTX.
Notes: ELRS X1 flight controller many not work with the ELRS 2.4Ghz TX module which was updated V1.0.0 or latest version firmware. So if you run into issues you will need to flash old RC3 version firmware onto your ELRS TX module.
Specification
- Brand Name: Happymodel
- Model: ELRS X1
- Item Name: F4 Flight Controller AIO 12A ESC ELRS Receiver
| Flight Controller | MCU:STM32F411CEU6 (100MHZ, 512K FLASH) Sensor: MPU-6000(SPI connection) Mount pattern: 20×20 M2Size:32mm*28mm*9mm Power supply: 2-4S Lipo battery Built-in 12A Blheli_s ESC each Built-in Betaflight OSD(SPI Control) Built-in SPI ExpressLRS 2.4GHz receiver Built-in 5V 1A BEC Flight controller firmware target: CRAZYBEEF4SX1280 |
| Onboard 12A BL_S 4in1 ESC | MCU upgraded to EFM8BB21 Power supply: 2-4S LiPo/LiPo HV (7v/17v) Currents: 12A continuous peak 15A (5 seconds) Support BLHeliSuite programmable Factory firmware: F_H_40_REV16_8.HEX Default protocol: DSHOT150/DSHOT300/DSHOT600 |
| Onboard SPI ExpressLRS 2.4GHz Receiver | Packet Rate option: 25Hz/50Hz/150Hz/250Hz/500Hz RF Frequency: 2.4GHz Antenna plug: IPEX Telemetry output Power: <12dBm Receiver protocol: SPI ExpressLRS Could bind with ELRS 2.4Ghz TX module(Recommend TX module with latest elrs firmware) |
| Onboard voltage and Amperage meters settings | Voltage meter scale setting 110 Amperage meter scale setting 470 |


How to Bind
1.Power the flight controller by connecting USB. Please make sure that the port driver of the flight controller is correctly installed on the computer, then open Betaflight Configurator(Latest version) to connect, enter to the “receiver” interface, and then click “Bind Receiver”, the red LED at the bottom of the flight controller will flash quickly, which means that the SPI ELRS receiver enters the bind mode. There is another way to make the receiver enter the bind mode: after connecting to the Betaflight configurator, move to the CLI interface and enter “bind_rx” in the command line.
2.After correctly connecting the 2.4G ELRS TX module to your Opentx radio transmitter, copy the latest version of ELRS.LUA file to the SD card in the remote controller. The directory is “SD Card/Scripts/tools”, Then run ELRS.LUA and upgrade the firmware to latest version and click “bind” with the SPI ELRS receiver. Please make sure the packet rate is the same between the SPI ELRS Receiver and your ELRS TX module.
Change packet rate for the SPI Receiver command in the CLI tab
Set expresslrs_rate_index = 3
Allowed range: 0 – 4
Default value: 0
0=500Hz,1=250Hz,2=150Hz,3=50Hz,4=25Hz
3.After the binding is successful, the Red LED at the bottom of the flight controller will getting to be solid, and the telemetry can be received at the same time.
4.The meaning of the LED status of the SPI receiver: the LED is getting to be solid, indicating that the bind is successful or the connection and communication is normal, the LED flashing quickly indicates that the receiver is in binding mode, and the LED flashing slowly indicates that the there is no signal received from the radio controller.
Share this post
Included
- 1 x ELRS X1 AIO Flight Controller Board
Promotion vidoes