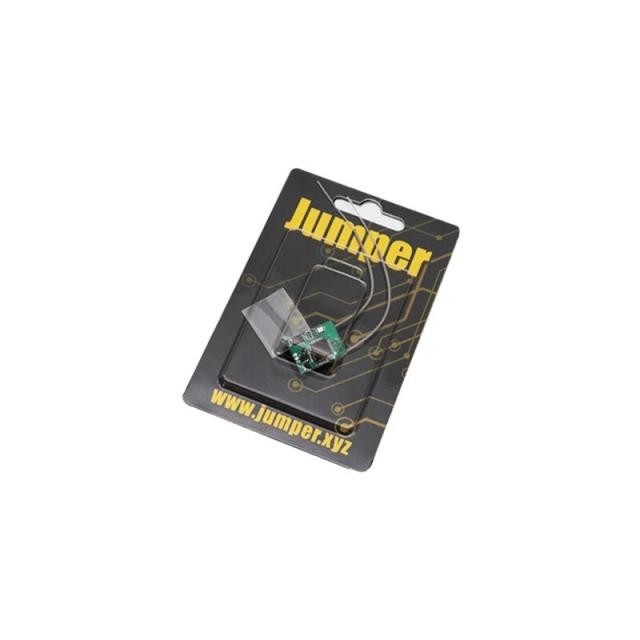
Jumper R1F F Port Micro Receiver Frsky D16 Compatible

 Add to
Wishlist
Add to
WishlistThe Jumper R1F is a full range D16 FrSky (ACCST) compatible receiver with an F-Port out, which simplifies connecting the receiver to a flight controller.
F-Port combines SBUS and Smartport telemetry in a single wire. Not only does this simplify a build, but it also saves a UART on the flight controller. So now you can get 2 way telemetry data, including RSSI with very little setup required.
The receiver uses direct solder points for its connections, which makes the Rx very small and even suitable for micro quad. Finally, its antennas can be easily replaced as it uses the snap on / off IPEX connector.
Please note this Rx supports FrSky D16 International Firmware (not EU LBT).
Advantages of F.Port over S.Bus: In simple terms, F.Port is a combination of SBUS, S.Port and RSSI into one wire.
- FPort combines SBUS and Smarport Telemetry into one single wire, saving soldering work an frees up a UART (3 wires instead of 4)
- FPort is an uninverted protocol, so no inversion required - compatible with more flight controllers
- FPort has slightly lower latency
- RSSI works automatically (no need to pass through a channel), offers full 2 way telemetry
Compatiblility & Setup:
Any F3, F4 or F7 FC with a spare UART should be able to run FPort. Update your FC to the latest Betaflight firmware. On the Ports tab enable the "Serial RX" for your chosen UART. In the Configuration tab, select “FPort” in Receiver Protocol. Finally, under the 'Other Features' menu, enable telemetry. For OpenTx users, to view telemetry information on your radio go to the telemetry page, select “Delete all Sensors”, and then “Discover new Sensor” - RSSI information should then appear.
Binding method:
- Press and hold the receiver’s bind button, turn on the power, the receiver will now enter binding mode. The red and green LED is solid.
- Turn on the remote control and begin the bind procedure according to your radio. After the bind is successful the red light is on and the green light is off.
- When the receiver loses the signal, the green light is flashing slowly and the red light is off.
Promotion vidoes


